I use a red brick to elevate the measuring jar. You can also use other item too.
The objective is to allow the water to flow from a higher point to a lower point.

I use a red brick to elevate the measuring jar
This is my DIY aquarium acclimation kit for my volcano shrimp (opae ula).
It cost less than S$5.

I use a measuring jar, air tubing, adjustable air valve and a clothes peg to diy an aquarium acclimation kit
I use the clothes peg to clip and hold the air hose tubing during the drip acclimation process.

drip acclimation setup
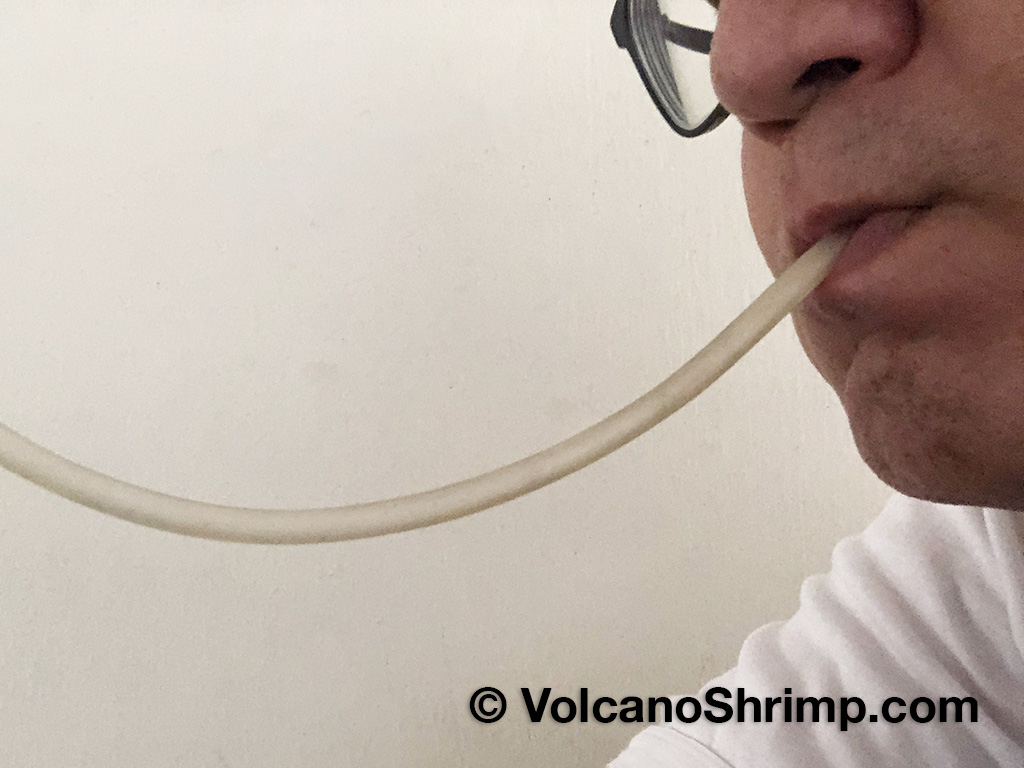
I suck on the air hose tubing to draw up the water from the jar.

Give the air hose tubing a suck
When water flow out from the air hose tubing, squeeze the tubing to reduce the flow and insert the adjustable air valve.

DIY drip acclimation kit
Once you have attached the adjustable air valve to the air hose tubing, tighten or loosen the red screw for flow rate adjustment.
The flow rate is about 1 drop per second.

Attach the adjustable air valve to the air hose tubing
Drip acclimation the volcano shrimp (opae ula) will take between 1 hr to 3 hrs.
The longer the process, the less stress the shrimp will need to go through.

DIY drip acclimation process
Once the water in the container is about 5 times the original volume, the volcano shrimp (opae ula) has been acclimatized.
You can proceed to setup and transfer the shrimp to the new tank.
It is a good practise not to use the water from the local fish store (LFS). The is to prevent any disease or bacteria contamination.

Drip acclimation my volcano shrimp (opae ula)
